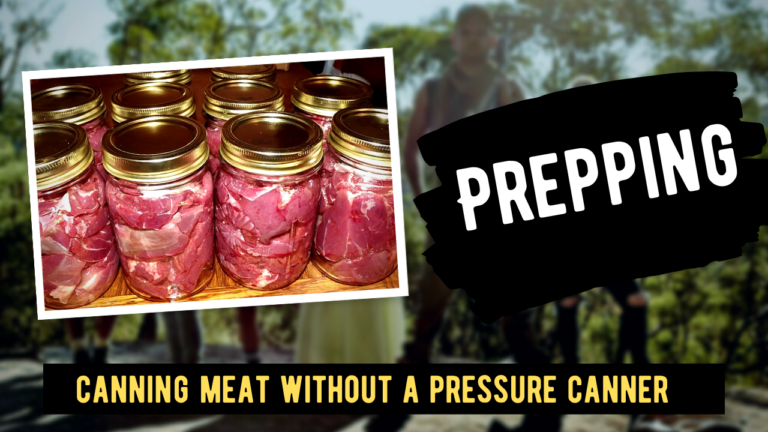
Are you looking for a way to preserve your favorite meats without investing in a pressure canner? If so, then you’ve come to the right place. In this blog post, we’ll be exploring the different methods of canning meat without a pressure canner. So grab your jar lids and get ready—it’s time to learn how to safely and effectively can meat without a pressure cooker!
Understanding the Basics of Canning Meat
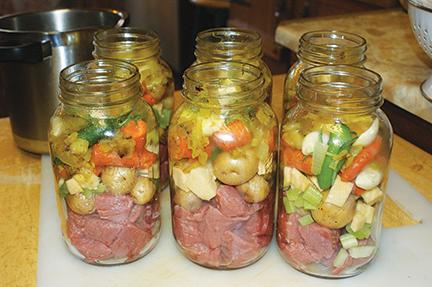
Canning meat without a pressure canner can be a risky and potentially dangerous endeavor. It is important to understand the basics of canning meat in order to safely do so.
Canned meats, poultry, and game must always be processed in a pressure canner at 10 to 15 pounds of pressure per square inch in order to destroy the harmful bacteria that could lead to botulism.
It is best to use fresh produce when it comes to canning meats.
Water bath canning methods are not recommended as they will not reach the temperature necessary for killing off bacteria. Consequently, labels should always include contents, date, and lot number if multiple batches were canned.
Also Read: 3 Reasons To Start Canning Meat
All canned vegetables, meats, poultry and seafood must be processed in a pressure canner as Clostridium botulinum spores may survive boiling water bath temperatures but are destroyed by higher temperatures reached with a pressure canner.
Tips for Canning Meat without a Pressure Canner Safely
Canning meat without a pressure canner is possible, but it requires extra care to ensure that the food is safe to eat. Here are some tips for canning meat safely without a pressure canner:
1. Sterilize the jars and lids before packing the meat. This will help reduce the risk of contamination and ensure your food is safe to consume.
2. Trim and clean your meat of any unwanted parts, then cut into 1-inch cubes. This will make sure that the pieces fit easily in the jars and cook evenly during processing.
3. Hot pack – Precook your meat until rare by roasting, stewing or browning in a small amount of fat. This helps to seal in flavor and reduce cooking time during processing.
4. Add 1 teaspoon of salt per quart to the jar when packing with liquid such as boiling broth, tomato juice or water (especially for wild game). This helps preserve flavor and texture while also adding essential nutrients to your meal.
5. Pack hot meat loosely into hot jars leaving one inch headspace for expansion during processing..
6 . When filling jars with liquid, make sure you cover all pieces completely so they don’t dry out during processing..
With these tips, you should be able to successfully can your own meats without a pressure canner! Just remember that there are real risks of botulism and death if proper safety procedures are not followed carefully when canning meats without a pressure canner!
Cleanliness is Paramount
Cleanliness is paramount when it comes to canning meat without a pressure canner. It is essential that all work areas, meat, and cans are kept scrupulously clean in order to avoid any potential food safety hazards such as botulism.
Trim off any gristle, fat and bruised spots before preparing the meat for canning. Use only new, clean and dry jars and start the water heating in your pressure canner before beginning the process.
Keep all these instructions in mind when attempting to safely preserve meat without using a pressure canner!
Selecting Your Cuts of Meat
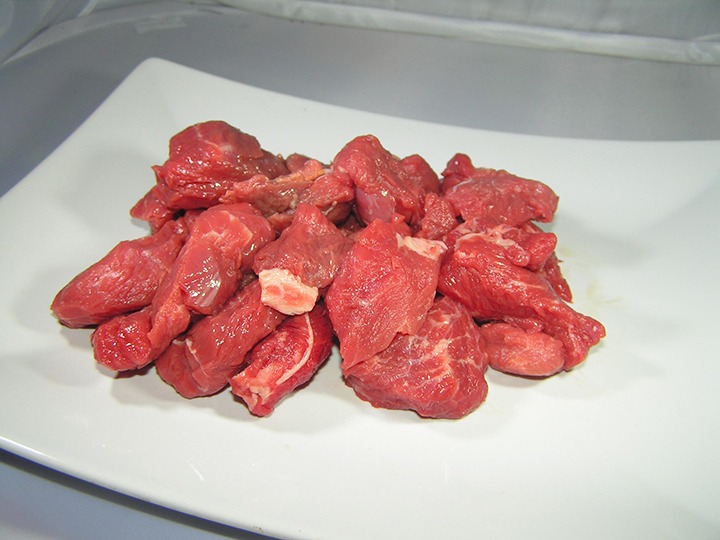
Canning meat without a pressure canner requires careful selection of the cuts of meat. To ensure safe and successful canning, use only perfect or near-perfect cuts of meat with no dark portions or excess fat.
Wipe the meat dry with a clean cloth and cut it into small strips, cubes, or chunks suitable for pint or quart jars. High quality poultry, meats, and game should be used for the best results.
When canning meats without a pressure canner be sure to vent it for 10 minutes before starting the process and follow all instructions when using and caring for your pressure canner as outlined in PNW421.
Using a Hot Water Bath to Can Meat
Using a hot water bath to can meat is an old-fashioned way of preserving food. It is possible to can meat without a pressure canner, but it is important to understand the risks and take proper safety precautions.
The process involves submerging jars with meat in boiling water for an extended period of time. This helps to kill most bacteria, but does not provide the same level of assurance as pressure canning.
When done properly, however, it can be a safe and effective way to preserve your harvest.
To start, you will need jars that are specifically designed for canning — these should have two-piece lids that seal tightly when heated. Make sure all jars and lids are clean before use.
Next, prepare the meat by cutting it into small pieces and removing any fat or bone. Pack the jar with pieces of meat until at least one inch of headspace remains at the top.
You may also add lemon juice or other acidifying agents to increase acidity if desired — this will help keep botulism bacteria from growing during storage. Finally, secure the lid on each jar and place them in boiling water bath for 3 hours (or longer according to your recipe).
Once finished boiling, carefully remove each jar using a jar lifter and let cool overnight before storing in a cool dark place away from direct light or heat sources.
It is important to note that while hot water bath canning provides some protection against foodborne illnesses such as botulism, it is not 100% effective against all types of bacteria; therefore it is best used for well-cooked meats rather than raw meats or fish products which need additional protection from the higher temperatures produced by a pressure canner.
Choosing the Right Type of Jar
Canning meat without a pressure canner is possible, but it is not recommended by the U.S. Department of Agriculture (USDA).
Pressure canning is the only scientifically tested and approved method for home food preservation when it comes to preserving low-acid foods such as meats and fish.
However, if you are still determined to can your meat without a pressure canner, you should consider the type of jar you use and other safety tips.
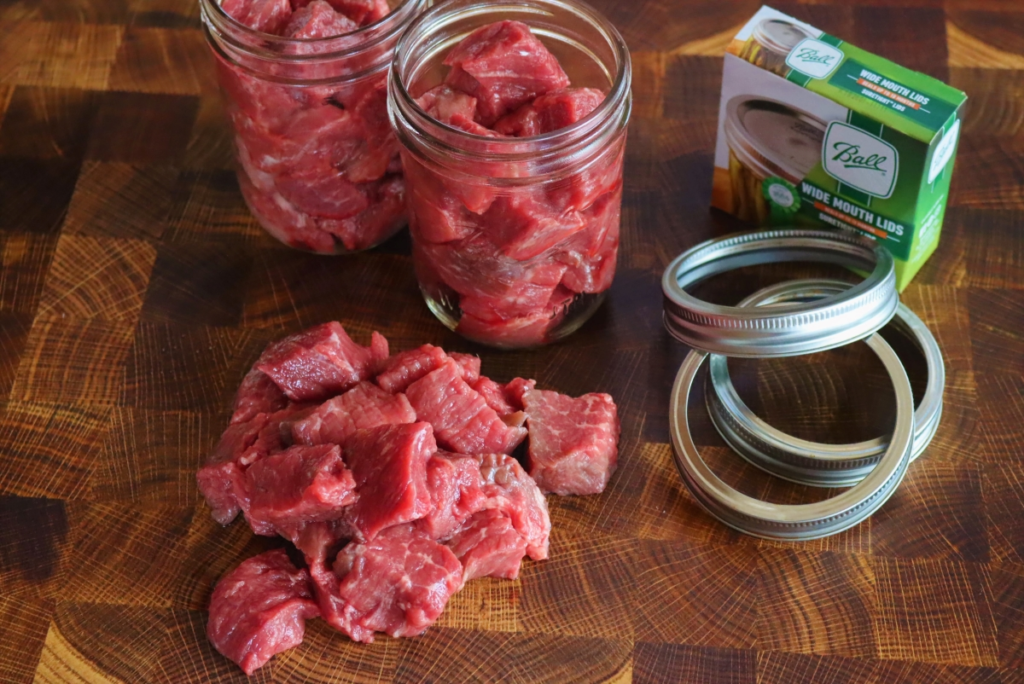
When selecting a jar for your canning project, make sure it has been manufactured specifically for home food preservation. Always select jars with a wide mouth that are made from heavy-duty glass, such as Mason jars or Ball jars.
A good seal is essential when it comes to preserving food properly and safely; therefore, inspect each jar lid before using it to make sure there are no nicks or cracks in the rim or lid that could compromise the seal during processing.
Hot packing is another important factor when preserving foods without a pressure canner. Hot packing involves preheating your food before placing it in the jars because this helps remove air bubbles from inside them, thus ensuring an even heat distribution during processing.
Moreover, always replace any liquid lost during processing by adding boiling water back into your jars before sealing them with lids and bands.
Finally, do not reuse jar fittings (lids and bands), as they cannot be relied upon to create an adequate seal more than once due to wear and tear over time.
Remember that following these guidelines will help reduce the risk of spoilage when canning low acid foods like meats without a pressure canner!
Adding Liquid to the Jars Before Processing
Canning meat without a pressure canner is possible, but it does come with some risks. When canning meat without a pressure canner, it is important to add liquid to the jars before processing.
This helps to ensure that the jars are full and that air does not get trapped within them during the processing time. Adding liquid also helps to prevent spoilage and contamination of the food.
The type of liquid used depends on the type of meat being canned, with water or broth being good options for most meats.
Additionally, it is important to leave 1-1¼ inch headspace in each jar before adding liquid so that there is enough room for expansion during processing. Following these steps will help ensure safe and successful canning of meat without a pressure canner.
Preparing and Packing the Jars
Canning meat without a pressure canner is possible, but requires extra care and attention to ensure the safety of your food. Preparing and packing your jars is a crucial step in the canning process that should not be overlooked. Before you start, make sure that your jars, lids, and bands are clean and in good condition.
For hot pack jars of meat, fill the jars with the desired pieces of meat while they’re still hot. Add 1 teaspoon of salt per quart (optional), leaving 1-inch of headspace at the top. Then fill each jar with boiling liquid such as water, broth or tomato juice to cover all pieces completely and leave 1-inch headspace.
For raw pack jars of meat, cut it up into desired pieces and add 2 teaspoons of salt per quart (optional). Fill each jar loosely with raw meat pieces, leaving 1¼ inch headspace at the top. Do not add any liquid to raw packed jars – the meat will let out liquid as it cooks and create its own juice during processing.
Once your jars are filled with either hot or raw packed meats, wipe off any excess juices from around the rim before placing on lid/band combination.
Place all filled jars in a preheated pressure canner and process according to manufacturer’s instructions for dial-gauge pressure canner (11 pounds) or weighted-gauge pressure canner (10 pounds).
Process pints for 75 minutes and quarts for 90 minutes at altitudes below 1000 feet; add 5 minutes additional processing time for altitudes above 1000 feet.
Once your cans have been processed successfully, remove them from heat source and allow them to cool.
Sealing the Jars for Processing
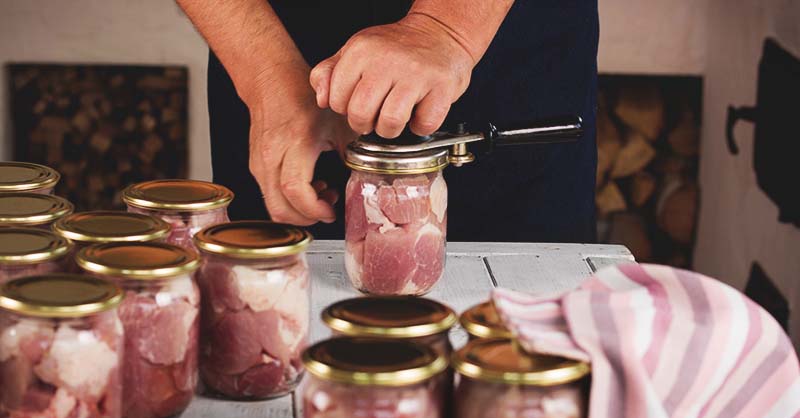
When canning meat without a pressure canner, it’s essential to properly seal the jars for processing. Start by examining the jars and lids for any nicks, cracks or rough edges that could prevent an airtight seal.
Ensure your hands are clean before packing the meat into the jars, leaving about an inch of headspace at the top. Place lids on jars and screw on bands until snug but not tight.
For low-acid meats and vegetables, place sealed jars in 2-3 inches of warm water in a pressure canner and follow manufacturer’s instructions. Regular and wide-mouth Mason-type, threaded, home-canning jars with self-sealing lids are recommended for maximum safety.
To ensure lid seals are secure, use either the Finger Test Method or Spoon Test Method when finished canning: with your finger press down on the center of each lid – if it does not move at all it is sealed; alternatively tap the lid with the bottom of a spoon – if it makes a dull sound it is sealed.
Once you have ensured safe jar seals after processing, store canned food in a cool dark place out of direct sunlight for optimum results.
Cooling Down and Storing Canned Meats
It is important to take special care with cooling down and storing canned meats without a pressure canner. Canned food should be stored in a clean, cool, dark and dry place away from furnaces, pipes and other places where temperatures fluctuate.
The ideal temperature range for storing canned food is between 50-70°F. Make sure that the lids are tightly sealed to ensure that the food remains safe. Do not store sealed cans in direct sunlight or near warm appliances as this can increase the risk of botulism and death.
Before canning meat, trim off gristle, fat and bruised spots before processing it. When removing the jars after canning, use jar lifters to avoid burns from hot water bath used for cooling down the jars.
Let the jars stay in hot water for 5-10 minutes before removing them and let them cool down completely before storing them away in a cool place with temperatures below 85°F.
Using Salt, Spices and Other Flavorings
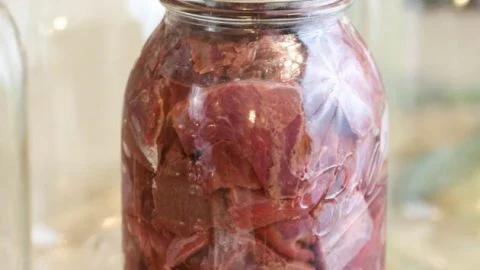
Canning meat without a pressure canner is possible with the use of salt, spices and other seasonings. Salt is optional for canning meat, poultry, game and fish as it is only used for seasoning and does not act as a preservative.
However, salt substitutes are not safe for fermented foods, so freshly made sausage should be seasoned with salt and cayenne pepper (sage may cause a bitter off-flavor).
Freshly ground spices such as pepper or garlic powder can also be used to enhance the flavor of the canned meats. Other herbs such as thyme, oregano or rosemary are great additions to canned meats without a pressure canner.
Additionally, it is important to remember that food safety guidelines must be followed when canning meat without a pressure canner; this includes ensuring that all surfaces have been properly sanitized and that all ingredients have been cooked through before being canned.
By following these steps you will ensure delicious and safe canned meats that will last for months!
Reheating and Serving Canned Meats
Reheating and serving canned meat is a great way to enjoy your favorite meals without having to go through the hassle of pressure canning.
Canned meats, such as poultry, beef, venison, elk, and seafoods are low-acid foods and must be processed in a pressure canner for safety.
This ensures that the temperature inside the cans reaches 100°C and kills off any potential bacteria or spores that could cause foodborne illness. Once your canned meats have been safely pressure canned, they are ready to be reheated and enjoyed!
To reheat your canned meat safely, start by chilling the broth of the can and skimming off any fat before returning the meat to the broth.
Then bring everything to a rolling boil on your stovetop before filling jars with one inch of headspace. Seal up your jars tightly with lids before placing them in your pressure canner.
Process them for the correct time at the correct temperature according to manufacturer’s instructions for safe consumption.
Once you’ve finished canning your meats safely using a pressure canner, they are ready to be served! To ensure food safety when serving home-canned foods, always heat them up until boiling before consuming.
You should also never consume low-acid foods that have not been canned according to proper safety guidelines as there is a risk of botulism present in foods like these if not properly processed.
With these tips in mind, you’ll be able to enjoy delicious home-canned meats without any worries!
Shelf Life of Canned Meat
Have you ever wondered how long canned meat will stay good? While it can last a while, consuming expired meat can lead to food poisoning, so be sure to check the shelf life before indulging!
Storing canned meat correctly can make the difference between it lasting beyond the expiration date or becoming spoiled prematurely. Although no refrigeration is necessary, it’s crucial to keep the food away from sources of heat.
The incredible shelf-life of canned meat, which can remain edible for up to thirty years with the right storage methods, stands in stark contrast to that of other canned items such as fruits, vegetables, fish, beans, soup, and broth. Truly, the art of canning is a marvel when it comes to preserving meat!
Also Read: Prepper List 2022: Everything You Need To Survive
If you’re looking to stock up on supplies for any future emergencies, consider adding canned meat to your pantry. Not only is it a great source of protein and nutrition, but it’s also surprisingly affordable and can last for years – making it an ideal choice for times when food is scarce.
I recently sampled some canned meat that had been tucked away in my basement for a decade, and to my surprise, it still tasted delightful! Though some folks have found that canned meat can remain edible even longer, it’s essential to store it in a place that is not overly hot.
Troubleshooting Common Issues with Home Canning
When home canning without a pressure canner, it is important to be aware of the possible issues that can arise. Without a pressure canner, low acid vegetables and meats cannot be safely canned.
This is due to the fact that processing temperatures for these foods must reach 240°F or higher in order to kill any potentially dangerous bacteria.
Incorrect processing temperature is one of the most common problems with home canning. To ensure safe food preservation, it’s essential to use an accurate thermometer when determining the temperature of your food during the canning process.
Additionally, using fresh boiling water and avoiding over mature vegetables will help keep starch content down, which can affect the temperature needed to kill bacteria.
Another issue related to home canning without a pressure canner is jars not sealing properly. This may be caused by an unsteady heat source or using mayonnaise jars instead of mason jars specifically designed for home-canning.
If you experience this problem, check your heat source and make sure you are using appropriate jars for your project before trying again.
Finally, some canned foods may lose liquid during processing due to sudden changes in pressure or air pockets inside the jar. When this happens, simply add more liquid before resealing and reprocessing the jar for safety reasons.
By being aware of these common problems and taking preventative steps such as monitoring temperatures accurately and checking seals regularly, you should have success with your home-canning projects even without a pressure canner!
Recommended Resources for Home Canning Safety Guidelines
Home canning is an excellent way to preserve food, but it requires the right tools and resources to do so safely. To ensure that your canned foods are safe for consumption, use the following resources as guidelines for home canning safety.
The USDA Complete Guide to Home Canning is a great place to start. This guide provides detailed instructions on how to safely and effectively can foods at home. It also outlines the necessary equipment needed for boiling-water bath and pressure canning processes.
Penn State Extension’s “Let’s Preserve” fact sheets provide tested recipes for safe home canning. Additionally, the USDA’s Complete Guide to Home Canning and So Easy to Preserve book offer reliable recipes as well.
Also Recommended: Should I be Prepping
When using either of these resources, make sure you have the proper equipment on hand before beginning any recipe. Boiling-water bath canners should be used for high-acid foods like tomatoes or jams while a pressure canner should be used for low-acid foods such as vegetables or meats (without bone).
Pressure canners must operate at 10–15 pounds per square inch in order to reach temperatures of 240°F–250°F which will destroy microorganisms and make food safe for consumption.
Jars of food should be placed 2–3 inches below the surface of boiling water in a boiling-water bath or pressure canner with 1–2 inches of water over them during processing time—following any recipe’s recommended processing time exactly is essential!
Finally, remember that many recipes available online are not tested for safety so it is important to use only research-based resources when preserving your food at home!
